Finishing your Doll - Section 3
The Second and Third Hair Layers

Step 1: Pin the second layer of hair on the center part, on top of the 1st layer.
Step 2: As in sewing on the first layer, using large basting back stitches, sew down the center part of the 2nd layer, using your first layer as a guide.


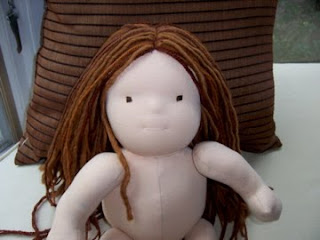
When you are finished with this layer, your doll should look something like this....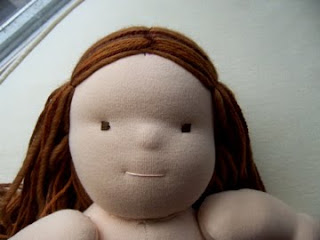

The Third Layer
Step 1: Pin your third layer on top of the head using the center part as a guide.


Step 2: Using small backstitches, sew down the third layer. This layer will get the most wear and tear from little ones, so you will want to go over this layer with your stitches at least twice.
The Finished Look!!!!
Congratulations!!! Now you can cut and style your doll's hair to your heart's content!