
Sewing the mouth is exactly like sewing the eye. Some people like one long stitch, others prefer to add a second shorter line just below. One nice tip is that the doll will have a subtle smile if you attach the thread at the start and end of sewing your mouth at the crown – gently pulling the corners up.
Supplies:
Cotton floss (I'm using DMC 754) - you only need about 18"
Dollmaker's Needle
pearlheaded pins for marking
scissors
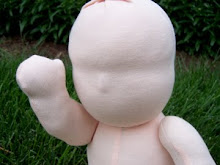
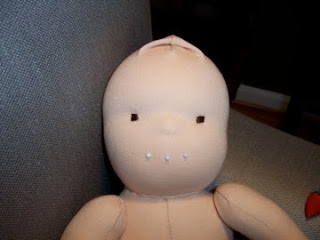
Step 1: Mark your mouth
I like to use three pins to mark the center and outer corners of where my mouth is going to be. Your mouth can be as big or small as you like! Mine is about 1 1/2" wide.
Step 2: Attach your floss
Stitch in place on the back of the head a few times.


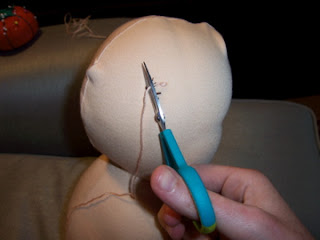
Step 3: Stitch your mouth
Sadistically, bring your needle through the head of the doll, to the left corner of the mouth. This can be a little tricky to get it exactly right - your needle will be swimming through the stuffing of the head! poke it through the face gently, to keep track of where it is and keep moving it until you get it in place. Bring the needle and floss all the way through. Then inser
 t the needle through the right corner marking pin hole, then out through the back of the skull. If you prefer, you can add another smaller stitch immediately below this stitch for more of a smiling effect.
Step 4: Secure your floss and cut
Bring your needle and floss all the way through to the back of the head. Gently pull and you will see the corners lift, giving the doll a small smile. Stitch in place once or twice and cut your floss.
